
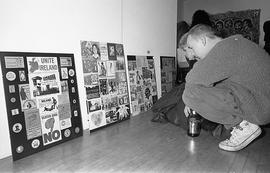
Ireland - The Right to Know, 1989, photo 22 (Phil Polglaze)
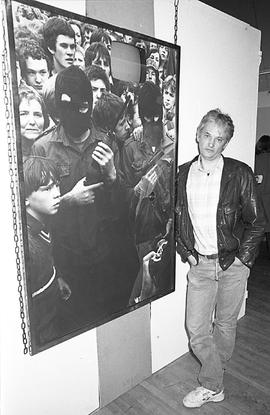
Ireland - The Right to Know, 1989, photo 23 (Phil Polglaze)
Ireland - The Right to Know, 1989, photo 24 (Phil Polglaze)

Ireland - The Right to Know, 1989, photo 25 (Phil Polglaze)
Ireland - The Right to Know, 1989, photo 26 (Phil Polglaze)
Ireland - The Right to Know, 1989, photo 27 (Phil Polglaze)
Ireland - The Right to Know, 1989, photo 28 (Phil Polglaze)
Ireland - The Right to Know, 1989, photo 29 (Phil Polglaze)
Ireland - The Right to Know, 1989, photo 3 (Phil Polglaze)
Ireland - The Right to Know, 1989, photo 30 (Phil Polglaze)
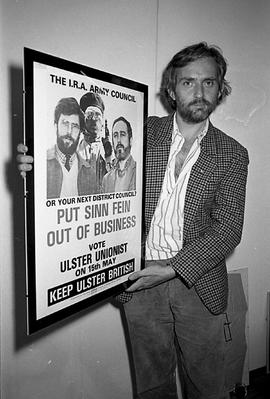
Ireland - The Right to Know, 1989, photo 4 (Phil Polglaze)
Ireland - The Right to Know, 1989, photo 5 (Phil Polglaze)
Ireland - The Right to Know, 1989, photo 6 (Phil Polglaze)
Ireland - The Right to Know, 1989, photo 7 (Phil Polglaze)
Ireland - The Right to Know, 1989, photo 8 (Phil Polglaze)
Ireland - The Right to Know, 1989, photo 9 (Phil Polglaze)
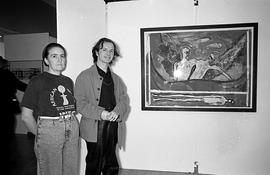
Let the Canvas Come to Life (summer workshop), 1990, photo 1 (Phil Polglaze)
Let the Canvas Come to Life (summer workshop), 1990, photo 10 (Phil Polglaze)
Let the Canvas Come to Life (summer workshop), 1990, photo 11 (Phil Polglaze)
Let the Canvas Come to Life (summer workshop), 1990, photo 12 (Phil Polglaze)
Let the Canvas Come to Life (summer workshop), 1990, photo 13 (Phil Polglaze)
Let the Canvas Come to Life (summer workshop), 1990, photo 14 (Phil Polglaze)
Let the Canvas Come to Life (summer workshop), 1990, photo 15 (Phil Polglaze)
Let the Canvas Come to Life (summer workshop), 1990, photo 16 (Phil Polglaze)
Let the Canvas Come to Life (summer workshop), 1990, photo 17 (Phil Polglaze)

Let the Canvas Come to Life (summer workshop), 1990, photo 18 (Phil Polglaze)
Let the Canvas Come to Life (summer workshop), 1990, photo 19 (Phil Polglaze)
Let the Canvas Come to Life (summer workshop), 1990, photo 2 (Phil Polglaze)
Let the Canvas Come to Life (summer workshop), 1990, photo 20 (Phil Polglaze)
Let the Canvas Come to Life (summer workshop), 1990, photo 21 (Phil Polglaze)
Let the Canvas Come to Life (summer workshop), 1990, photo 22 (Phil Polglaze)
Let the Canvas Come to Life (summer workshop), 1990, photo 23 (Phil Polglaze)
Let the Canvas Come to Life (summer workshop), 1990, photo 24 (Phil Polglaze)
Let the Canvas Come to Life (summer workshop), 1990, photo 3 (Phil Polglaze)
Let the Canvas Come to Life (summer workshop), 1990, photo 4 (Phil Polglaze)
Let the Canvas Come to Life (summer workshop), 1990, photo 5 (Phil Polglaze)
Let the Canvas Come to Life (summer workshop), 1990, photo 6 (Phil Polglaze)
Let the Canvas Come to Life (summer workshop), 1990, photo 7 (Phil Polglaze)
Let the Canvas Come to Life (summer workshop), 1990, photo 8 (Phil Polglaze)
Let the Canvas Come to Life (summer workshop), 1990, photo 9 (Phil Polglaze)
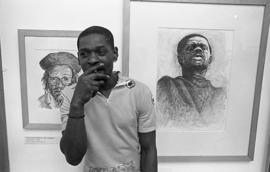
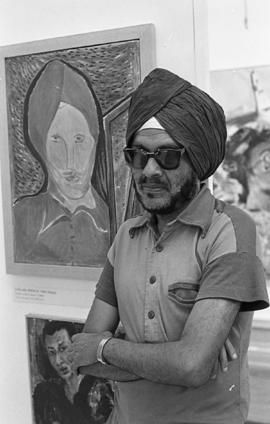
Let the Canvas Come to Life with Dark Faces
Let the Canvas Come to Life with Dark Faces
Let the Canvas Come to Life with Dark Faces (summer workshop)
Let the Canvas Come to Life with Dark Faces (summer workshop)
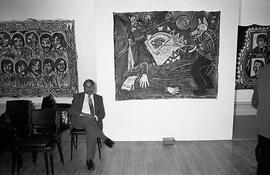
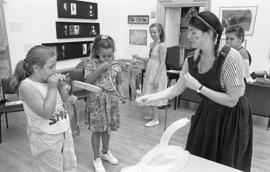
Let the Canvas Come to Life, 1990, photo 1 (Phil Polglaze)
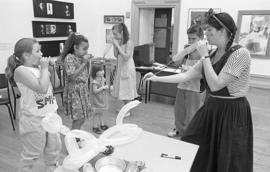
Let the Canvas Come to Life, 1990, photo 10 (Phil Polglaze)
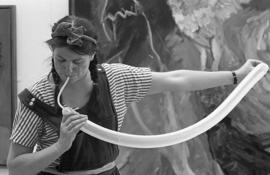
Let the Canvas Come to Life, 1990, photo 11 (Phil Polglaze)
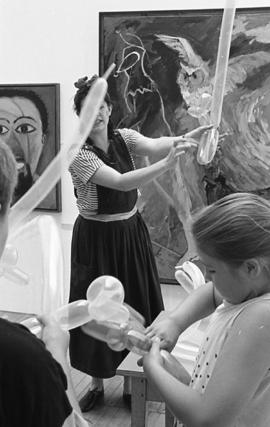
Let the Canvas Come to Life, 1990, photo 12 (Phil Polglaze)
Let the Canvas Come to Life, 1990, photo 13 (Phil Polglaze)
Let the Canvas Come to Life, 1990, photo 14 (Phil Polglaze)
Let the Canvas Come to Life, 1990, photo 15 (Phil Polglaze)
Let the Canvas Come to Life, 1990, photo 16 (Phil Polglaze)
Let the Canvas Come to Life, 1990, photo 2 (Phil Polglaze)
Let the Canvas Come to Life, 1990, photo 3 (Phil Polglaze)
Let the Canvas Come to Life, 1990, photo 4 (Phil Polglaze)
Let the Canvas Come to Life, 1990, photo 5 (Phil Polglaze)
Let the Canvas Come to Life, 1990, photo 6 (Phil Polglaze)
Let the Canvas Come to Life, 1990, photo 7 (Phil Polglaze)
Let the Canvas Come to Life, 1990, photo 8 (Phil Polglaze)
Let the Canvas Come to Life, 1990, photo 9 (Phil Polglaze)
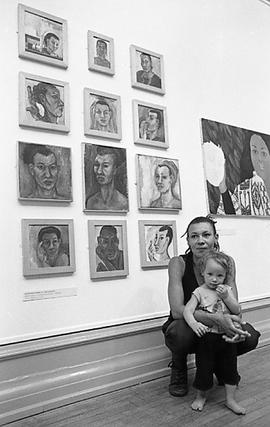
Mutual Aims
Mutual Aims
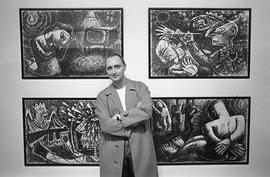
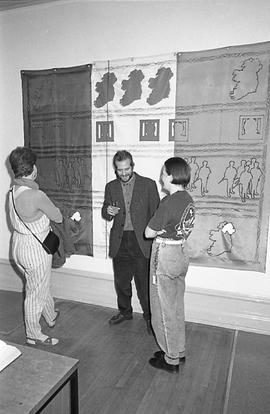
Mutual Aims, 1991, photo 1 (Phil Polglaze)
Mutual Aims, 1991, photo 10 (Phil Polglaze)
Mutual Aims, 1991, photo 11 (Phil Polglaze)
Mutual Aims, 1991, photo 2 (Phil Polglaze)
Mutual Aims, 1991, photo 3 (Phil Polglaze)

Mutual Aims, 1991, photo 4 (Phil Polglaze)
Mutual Aims, 1991, photo 5 (Phil Polglaze)
Mutual Aims, 1991, photo 6 (Phil Polglaze)
Mutual Aims, 1991, photo 7 (Phil Polglaze)
Mutual Aims, 1991, photo 8 (Phil Polglaze)
Mutual Aims, 1991, photo 9 (Phil Polglaze)
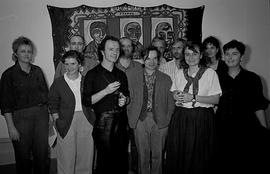
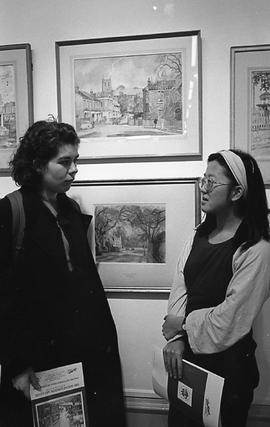
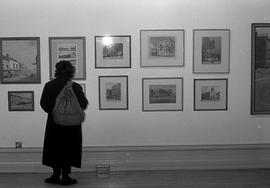
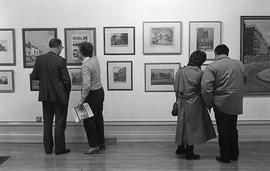
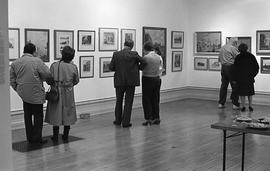
On Show: A Profile of Southwark, photo 1 (Phil Polglaze)
On Show: A Profile of Southwark, photo 10 (Phil Polglaze)
On Show: A Profile of Southwark, photo 11 (Phil Polglaze)

On Show: A Profile of Southwark, photo 12 (Phil Polglaze)
On Show: A Profile of Southwark, photo 13 (Phil Polglaze)
On Show: A Profile of Southwark, photo 14 (Phil Polglaze)
On Show: A Profile of Southwark, photo 15 (Phil Polglaze)
On Show: A Profile of Southwark, photo 16 (Phil Polglaze)
On Show: A Profile of Southwark, photo 17 (Phil Polglaze)
On Show: A Profile of Southwark, photo 18 (Phil Polglaze)
On Show: A Profile of Southwark, photo 19 (Phil Polglaze)
On Show: A Profile of Southwark, photo 2 (Phil Polglaze)

On Show: A Profile of Southwark, photo 20 (Phil Polglaze)
On Show: A Profile of Southwark, photo 21 (Phil Polglaze)
On Show: A Profile of Southwark, photo 22 (Phil Polglaze)
On Show: A Profile of Southwark, photo 23 (Phil Polglaze)
On Show: A Profile of Southwark, photo 24 (Phil Polglaze)
On Show: A Profile of Southwark, photo 25 (Phil Polglaze)
On Show: A Profile of Southwark, photo 26 (Phil Polglaze)
On Show: A Profile of Southwark, photo 27 (Phil Polglaze)
On Show: A Profile of Southwark, photo 28 (Phil Polglaze)
On Show: A Profile of Southwark, photo 29 (Phil Polglaze)
On Show: A Profile of Southwark, photo 3 (Phil Polglaze)
On Show: A Profile of Southwark, photo 30 (Phil Polglaze)
On Show: A Profile of Southwark, photo 31 (Phil Polglaze)
On Show: A Profile of Southwark, photo 32 (Phil Polglaze)
On Show: A Profile of Southwark, photo 33 (Phil Polglaze)
On Show: A Profile of Southwark, photo 34 (Phil Polglaze)
On Show: A Profile of Southwark, photo 35 (Phil Polglaze)
On Show: A Profile of Southwark, photo 36 (Phil Polglaze)